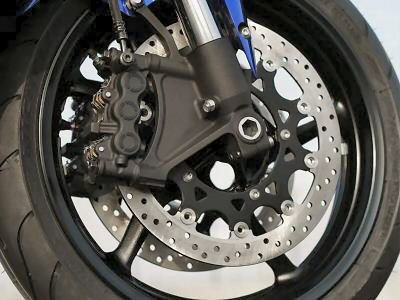
Braking: Exercise Three - Harder
 Exercise 3: Panic braking
Note: This is a dangerous exercise, with a far more real chance of a crash than the other two. I recommend having a friend or friends around when trying it and do not accept any liability for damage or inconvenience caused.
A good idea is to do exercise 3 once, then do exercise 1 once, and only then try a type 3 run again.
Walk out on the tarmac and draw a line. This will be the point when you start braking. Do a few exercise 2 and 1 runs until your tyre and hands warm up the idea of hard exercise. Only then, will you be ready for 3.
Now, the idea is simple. Pick a speed. Say 60 kph. Approach the line at 60 kph in any gear you like and stop as early as possible. As you repeat the runs, you will soon find that you can actually stop a bit earlier each time. When you feel the rear wheel beginning to lift off the ground (all disc braked bikes, more or less, are capable of this), you are reaching the limit of front braking).
- Tip: A very slight amount of rear brake pressure can make the bike feel stable. But that also raises the risk of rear lock up. If the rear does lock up, ease up the tiniest bit on the rear brake to fix the problem. Look up and far ahead, this tends to keep the bike more or less in line for the longest time.
- Tip: Listen to the front tyre. Its howling and the pitch of that sound is usually a good indicator of how close to the limit you really are.
- Tip: Notice the skid marks you will be leaving behind. You're looking for a faint grey skid mark, this front-end skid mark is a sign that you're on the threshold. If you can put one down at will, you've got the hang of it.


1 comment:
A question about braking I've had for quite sometime-
What exactly is the best thing to do with the clutch?
Post a Comment